You can create a document (course, page, module, template, etc.) to publish on either your profile or community.
Creating a document
Click on Create (located on the top righthand side) and then select and click Doc.
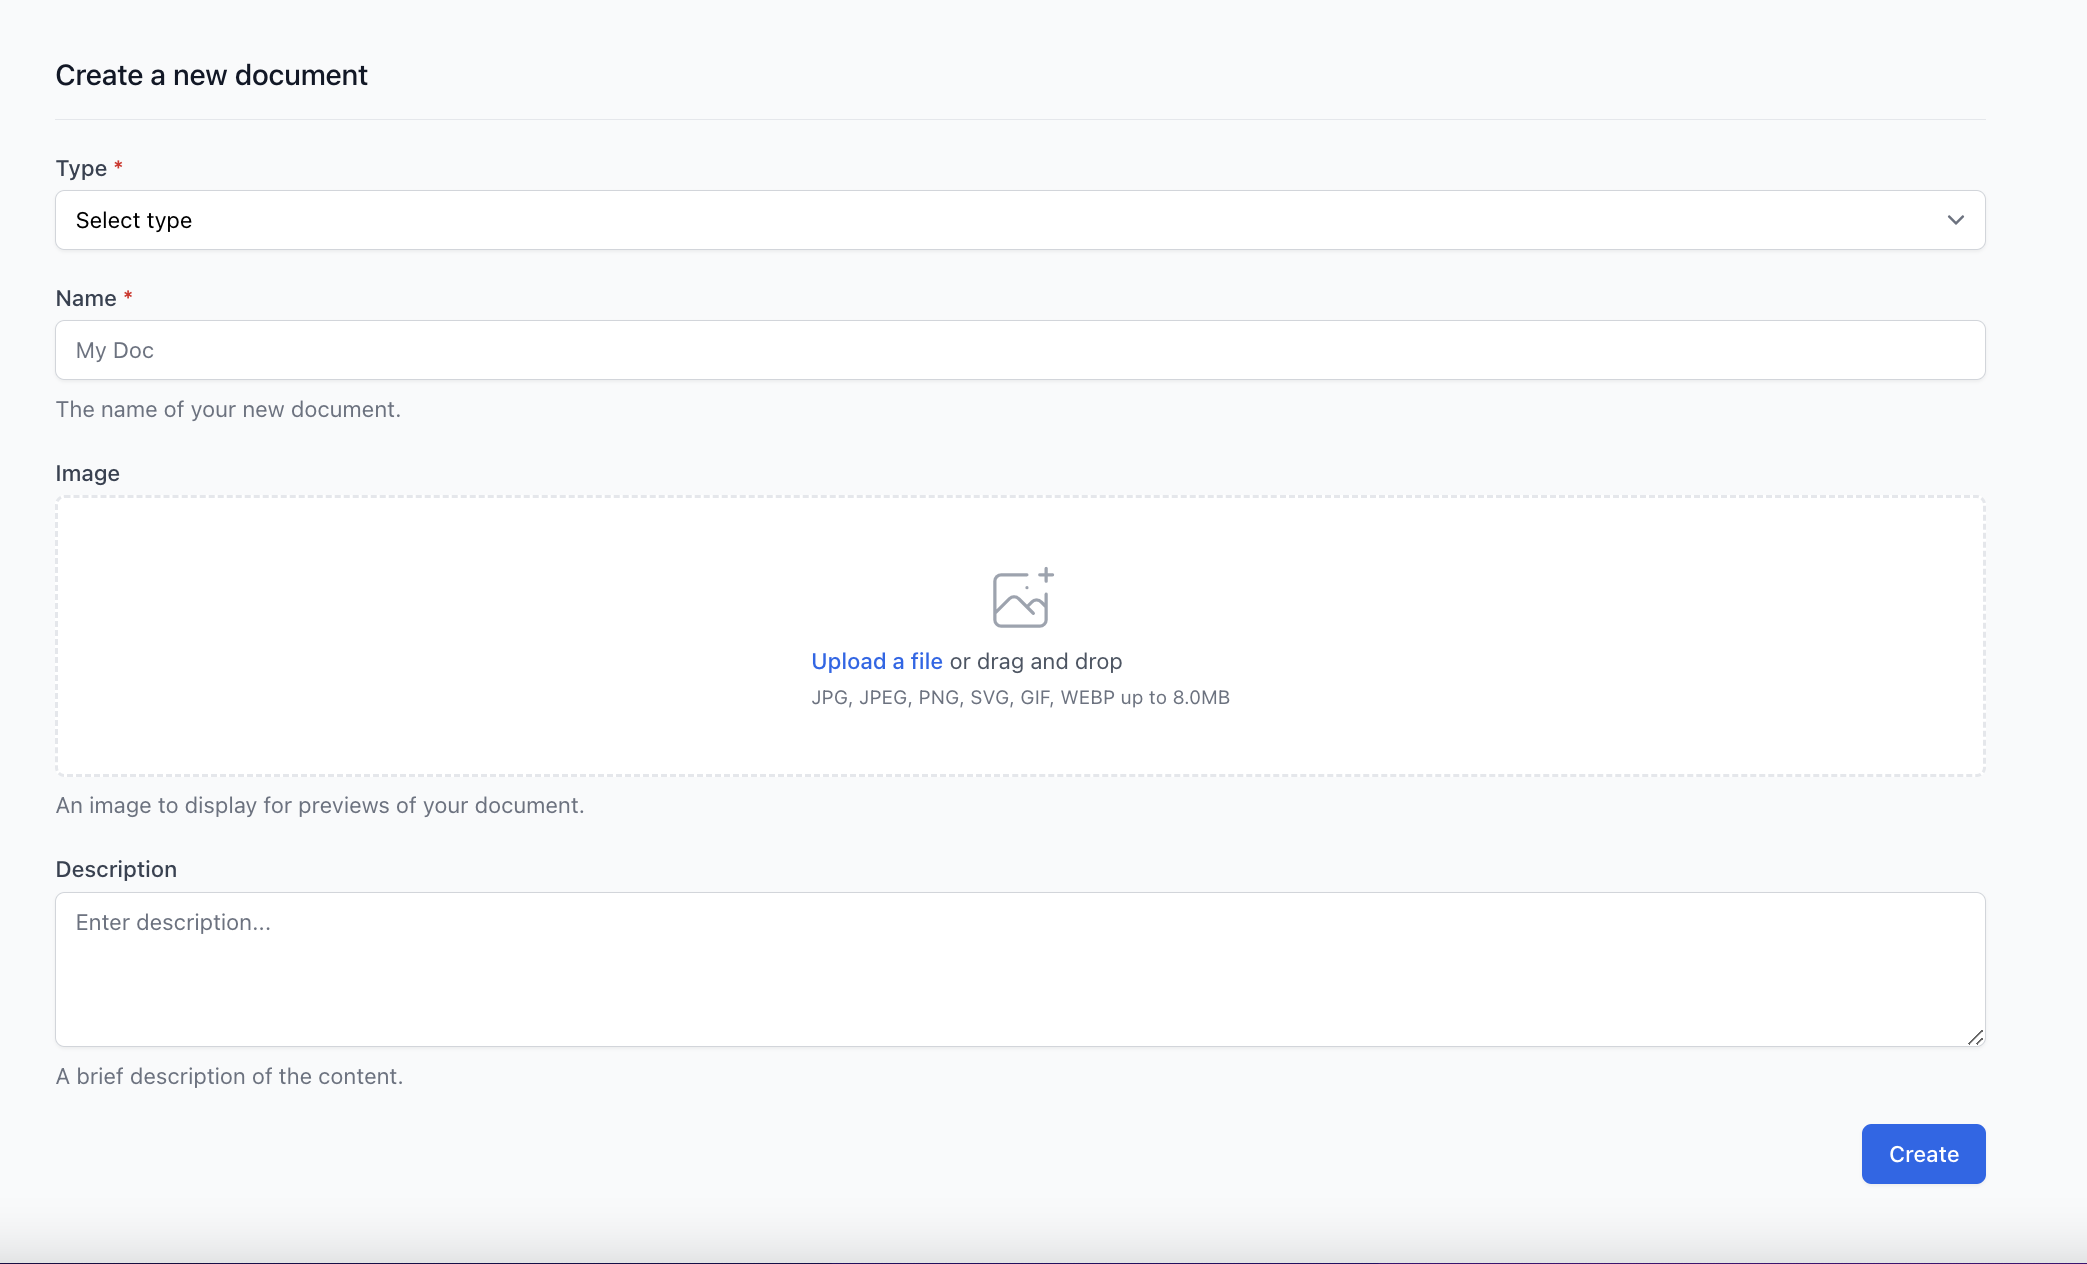
Select the "Type" of document you are creating. The type will be used a a label but will not change anything about the functionality of your document. 
Next, select an Owner for the document. You can select yourself or any community/space in which you are a manager/moderator. Ownership determines who can manage and edit the doc. If the document is owned by a community all other community managers will be able to edit it.
On name, enter a title for your document. 
You can also add an image and description to your document. 

Click the blue Create button.
Add and Edit Content
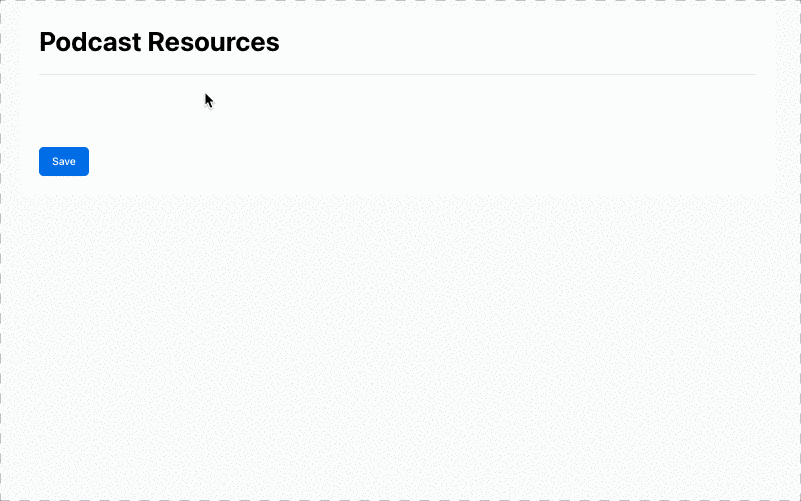
Once you've created your document, it's time to add content!
- Begin typing to add text
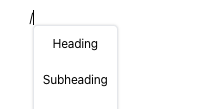
- Type "/" to bring up a menu to add headers, emojis, upload a file
(file upload limit for files in documents is 100MB), or insert an iFrame.
Create a Table of Contents using Headers
Using the Heading and Subheading options within your document will build a table of contents. Use the "/" menu or text editor to creating headings.

After the document is published you can view the table of contents along the right side menu (click the outline symbol). By clicking on a section within the table of contents you will be popped down to that section within the document. Use heading and the table of contents feature to organize your content!

Using the Sidebar Menu
Opening the Sidebar
Click on the Discussion (Speech bubble), Table of Contents (Outline), or Announcement (Megaphone) icon, as shown below, to open the sidebar.


Adjusting the size of the Sidebar
To increase the width of the area in the sidebar, click and drag the left side. Release when it is at your desired width.


Closing the Sidebar
To close the sidebar, you have three options:
-
click the X in the upper-right corner of the panel
-
click anywhere on the grayed out part of the screen
-
press the Esc key
To add an iFrame
Type "/" and then select iFrame. You will be asked to provide a link to the external site and adjust the height if needed. Make sure you are using a 'share' link if available. Also note that not all external websites allow themselves to be embedded in this way (feel free to reach out to Participate's Support Team if you are looking for help with your iFrame). Click 'Insert iFrame' and it will appear.

To add a link
To add a link, copy and paste the URL and press <Return>/<Enter> to add the link as a resource. 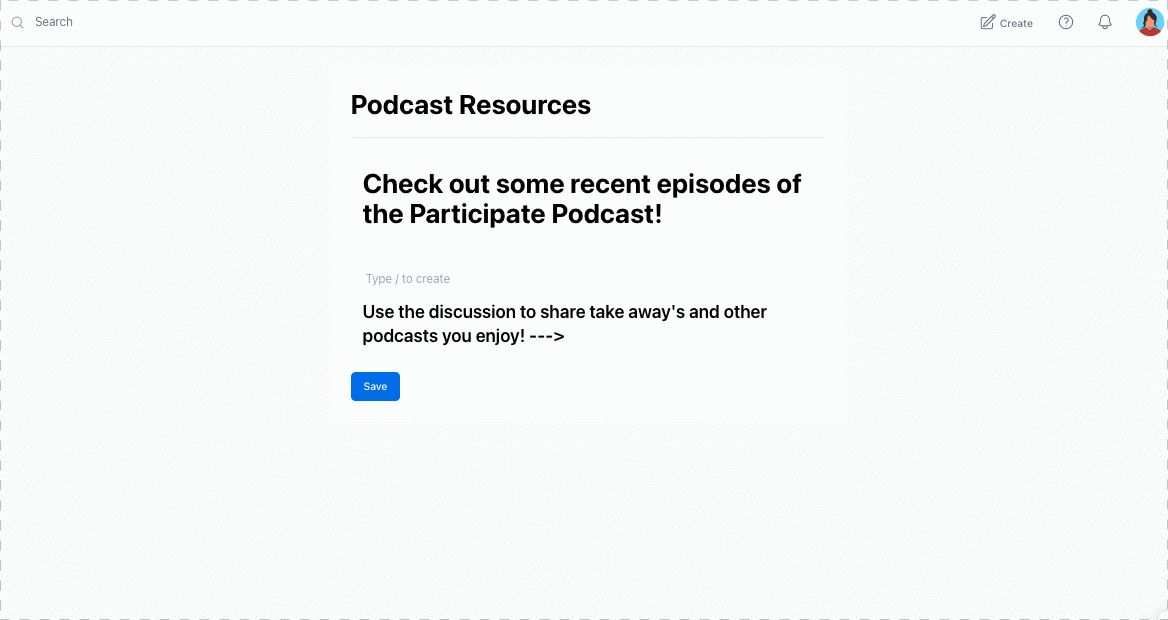
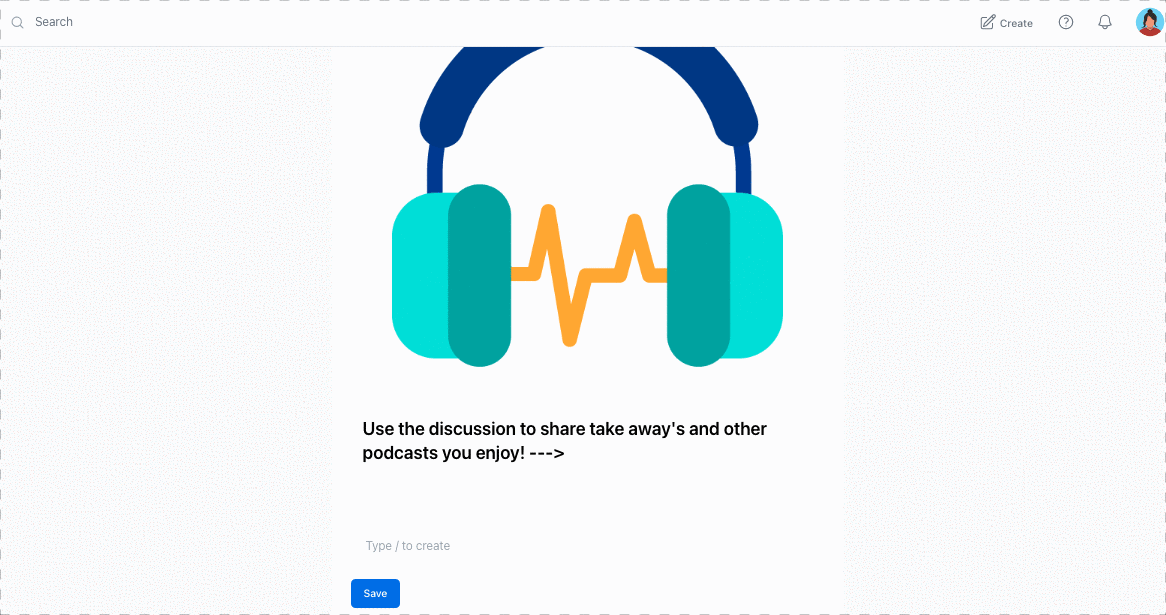
To add images
There are a few ways to add images to your doc:- Type a "/" and select File Upload. Select "Choose" and find the image you would like to add.

- Copy and paste an image from the web, another resource, or you computer's file browser.

- Drag and drop an image file into the document editor.

You can also add a hyperlink and/or alt text to an image. Click on the image to bring up this menu, add your link or alt text.

To embed a Video
To add a video into a document:
- Copy and Paste a video's sharable URL and press <Return>/<Enter>. This method will embed the video in the page and allow it to be tracked for completion. Currently Youtube and Vimeo are supported.
Publishing a Document
While you are editing a document you will see options to save, publish, or view your document. Remember to save all new changes!

If you are viewing a document, which you have editing capabilities, you will see a publish, edit menu for easy access.

Additionally, you can edit and publish resources from your Dashboard. Click on your avatar in the upper right to go to your Dashboard. Then click the Content tab. There you will find options to view, edit and publish your document.

Click on Docs to bring up a listing of all the docs you have created (sort by clicking on Type, Owner, and Newest/Oldest if needed). Select Publish to the right of your document. 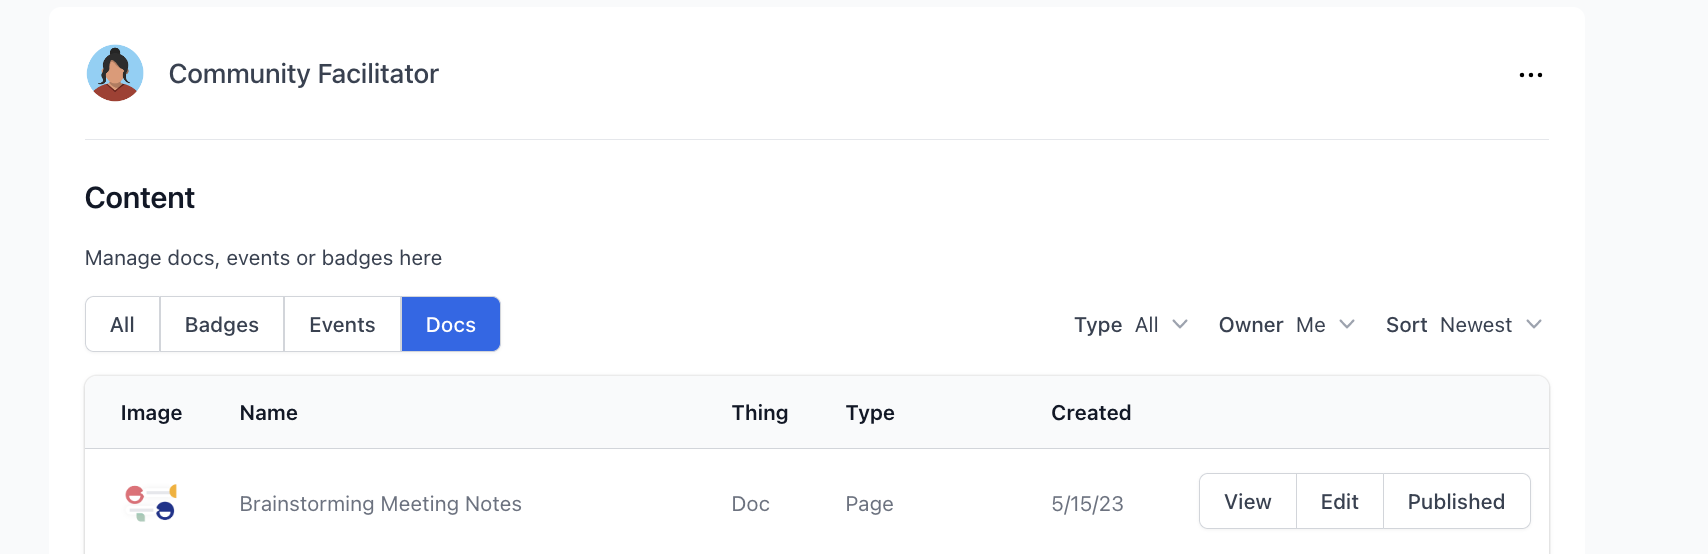
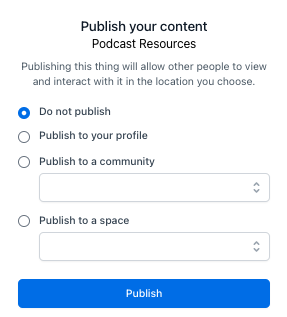
➡️ To edit the document details, image, owner, etc click the Edit Button.
➡️ To publish the document click Publish(ed). Next, choose to publish your document to your profile or a community or space that you are a manager/moderator in. You can return here to unpublish later if needed.