Create a digital goal to guide your community members on their learning pathway.
Create a New Badge
NOTE : You will need to have a badge issuer set up before you can create a badge. Click here to read about how to create a badge issuer.
To get started, click on the Create menu in the top right-hand corner, and select the 'Badge' option.

A new badge setting page will open. Begin by selecting a "Type". This will be used as a label for the badge and will not change the functionality.

Next, select an Owner for the badge. You can select yourself or any community/space in which you are a manager/moderator. The Owner of the Badge will also be the Badge Issuer. If the badge is owned by a community all other managers will be able to edit it and the badge issuer will be set to the community. 
Next, upload an image for the new badge. The image format must be either a PNG or SVG image.

Next, type in a name for the new badge. This name will be used to search and display badges.

Enter a description of what learners and participants will do to earn this badge.

Tags, Expiration and Criteria are optional fields but helpful to fill out. Use the check box "Display badge on issuer public page" if you would like the badge to show up on the issuer page (in addition to the published location).
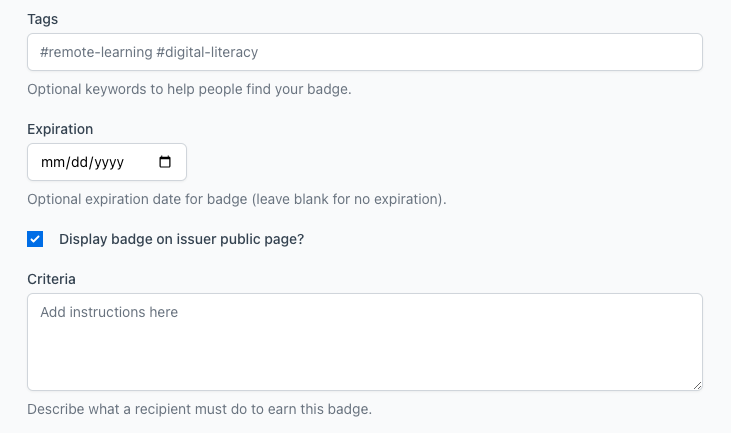
We recommend adding as much context as possible to the description and criteria. It is helpful to include related content that a member may need to reference for completion of the badge.
Decide how the badge will be awarded. You have 2 options:
Automatically Award Badge
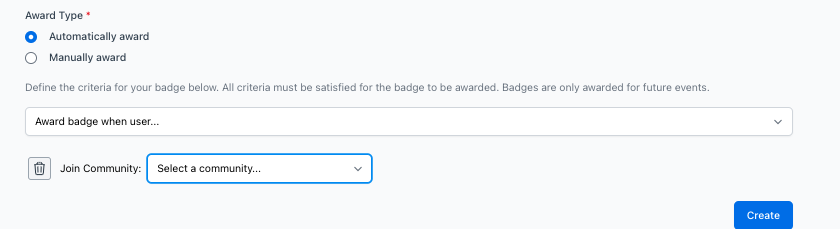
When automatically awarding a badge you will choose what action will trigger the badge.
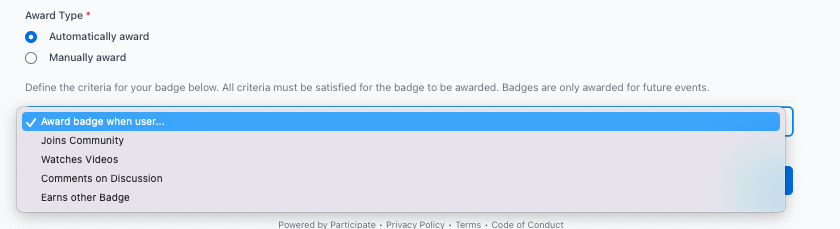
After selecting an action, use the + sign to drill down on the specific actions needed.
Manually Award Badge
To manually award a badge after reviewing a submission, select Manually Award. You may also want to create a form that users will fill to show evidence for claiming the badge. If you do not create your own form, one will be populated for you with one paragraph response field. You can find the badge and form in your Dashboard.
Click the [Create] button !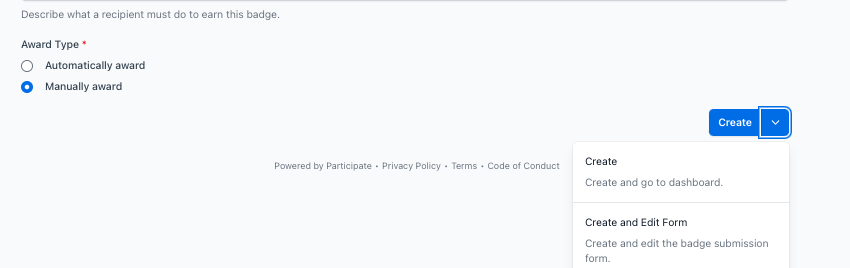
Create a Form
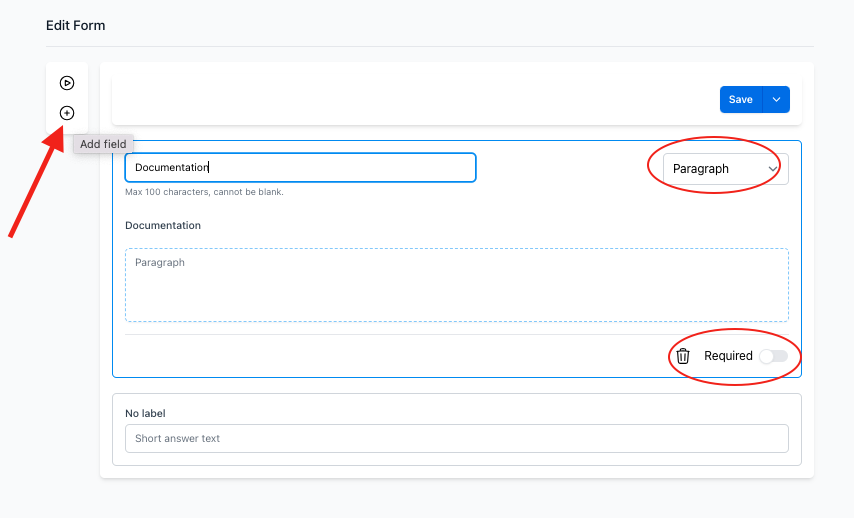
Forms can be used to collect documentation for badge submissions. When you choose for a badge to be manually awarded, you'll be able to create and edit a form that a badge earner must complete to be awarded the badge.
Click the + to add more questions. Type a Label for your question and choose the response type: Short answer, Paragraph, File upload, Multiple choice, and/or Check boxes. You can choose to make any question required if needed. Be sure to save and publish your form. Click the "Play" button to test your form.
Publishing a badge
Now that you've created a badge, it's time to publish it. Navigate to your profile using the Avatar menu and click 'Dashboard' then the 'Content' tab. Here you will see all of the content you have created; click on "Badges" to filter your view. 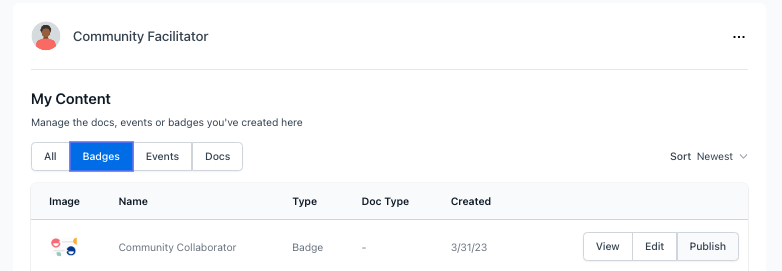
From this menu you can publish or unpublish badges. After selecting "Publish" you will choose from Do not publish, Publish to your profile or Publish to a community. You will only be able to publish into those communities in which you are a manager.

Next, learn more about Earning and Awarding Badges in this article!