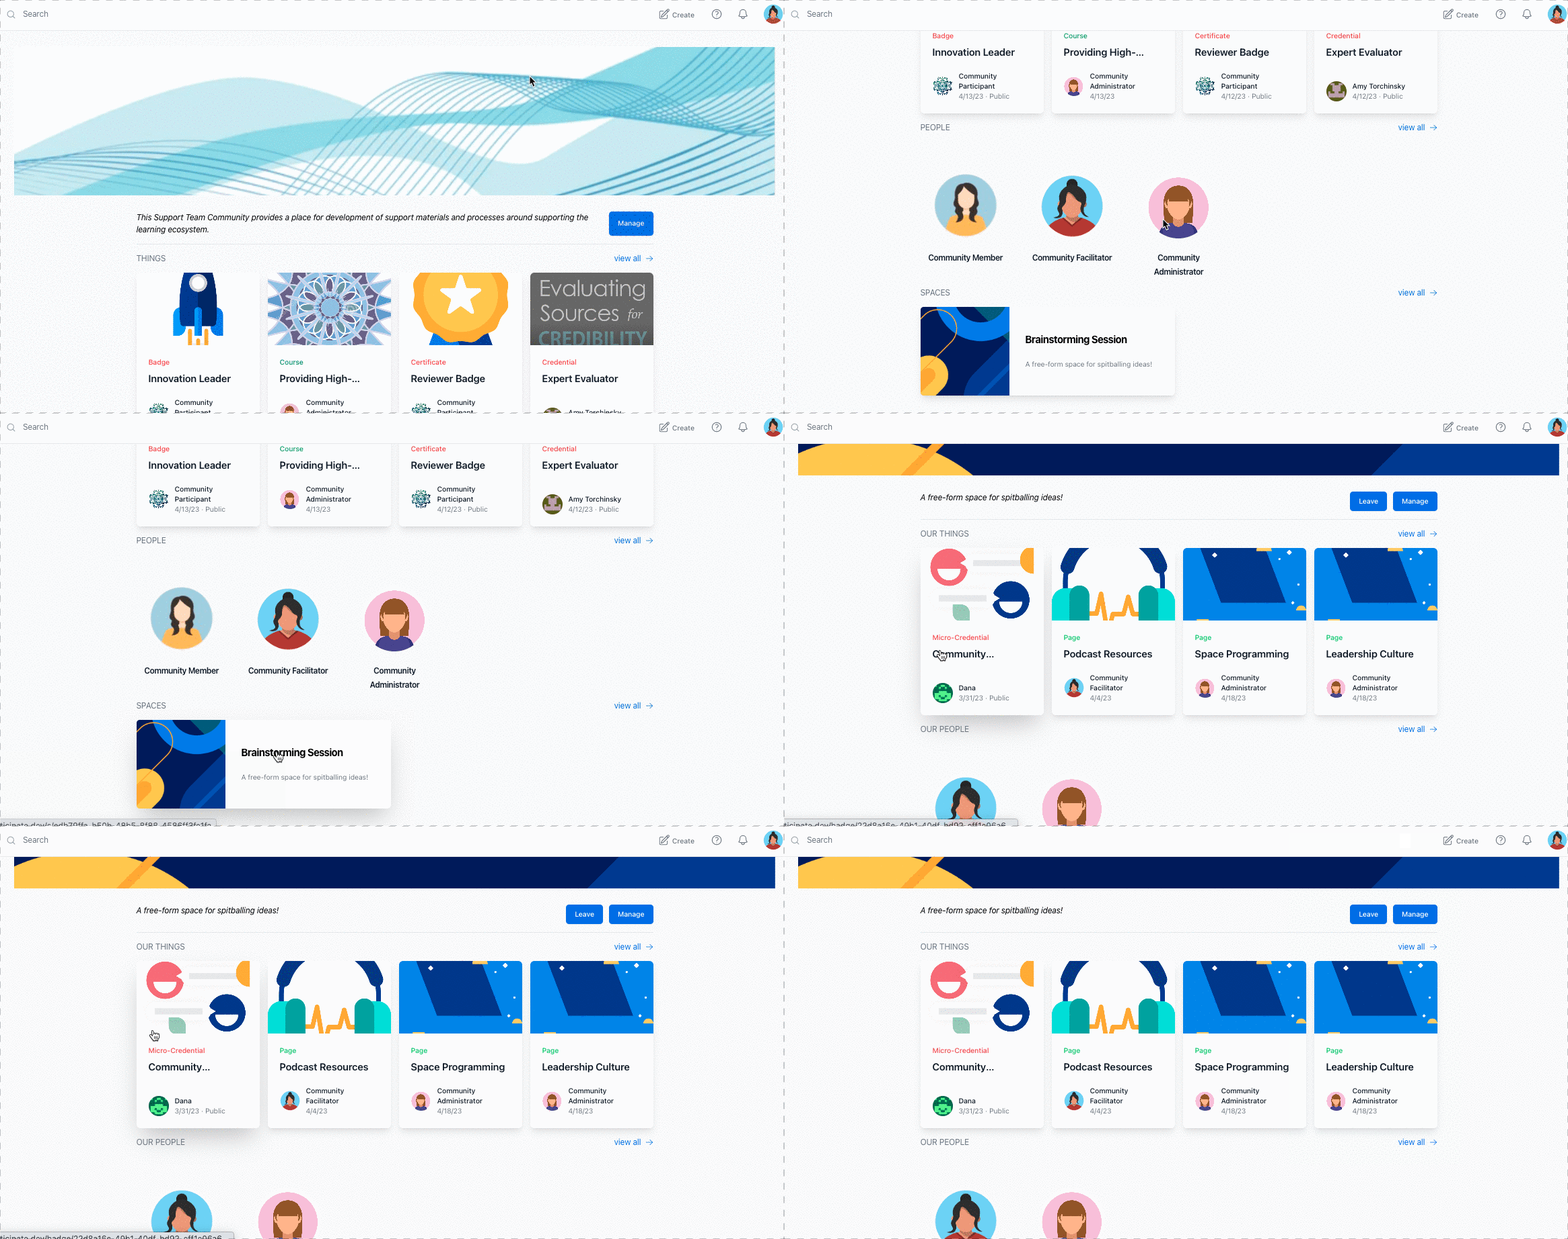
Learn how to organize content into learning pathways, courses, and credentialed experiences with these tips.
Create a Learning Pathway
In this example we will walk through how to organize multiple modules into one learning pathway.
Step 1 Decide if you will create a badge for each module and/or one badge for completion of all modules. Create your badge(s)! Click here to learn more about how to create a badge.
Step 2 Create your content! Maybe this is multiple modules, resource pages, events, etc!
Click here to learn more about creating Documents.
Click here to learn more about creating Events.
Step 3 Decide how you will organize your course content. We suggest creating a "Table of Contents" Document or a Space (details below)
Organize your learning pathway using a Document
In this example we will use a Document to organize links to related content and the badge for the learning pathway you are trying to create.
Step 1 Create a new Document that will serve as the "Table of Contents" for your learning pathway. Click here to learn more about creating documents.
Step 2 Create and gather content for the learning pathway (docs, events, external resources). You will add and link this content within the "Table of Contents". Copy and Paste your link and press Enter. Your content will populate as clickable rectangular icons as seen in the example below.

Step 3 Add the link to the Badge for users to easily access, as shown in the example below.

Organize your learning pathway using a Space
In this example we will use a Space to organize content and badge(s) for the learning pathway you are trying to create.
Step 1 Create a new Space for your learning pathway. Click here to learn more about Spaces.
Step 2 Create and gather content for the learning pathway (docs, events, external resources). You will publish all of your content to the Space for this learning pathway.
Step 3 Create and publish the Badge to your Space as well.
